

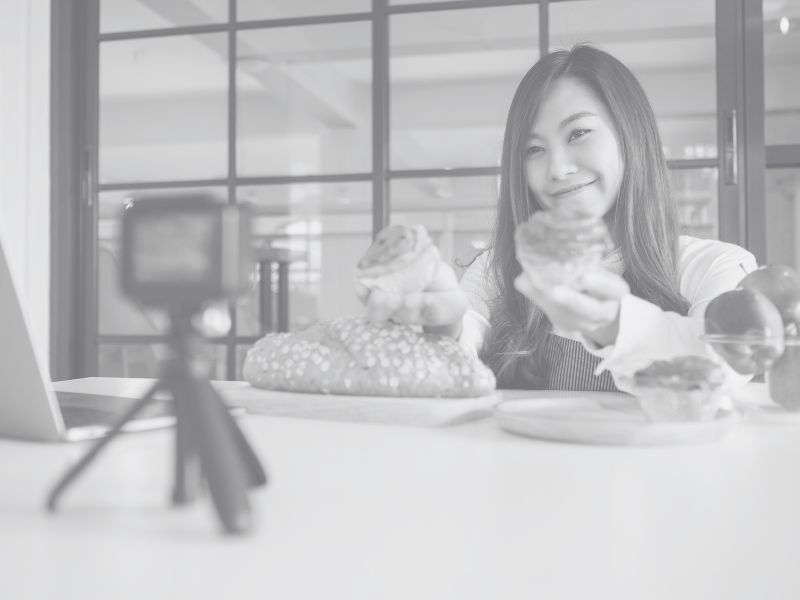
Most restaurant food photography tips arrive as a list of camera settings, which is useless when the only camera you have is a phone and the only window you have is fifteen minutes before service. The phone is not the problem. Restaurant photos usually fail for three reasons: the light is wrong, the angle is wrong, and the plate is cold by the time anyone shoots it. Fix those three and the dish you actually want to sell will start selling.
Light comes first, because light is most of the photo
Food looks appetising when a viewer can see its texture: the gloss on the sauce, the char on the skin, the steam lifting off the broth. Texture comes from directional light, which just means light arriving from one side rather than from everywhere at once.
- Use the window. Find the table with the best natural light and make it your photo table. Place the plate so the light comes from the side or from behind it, not from behind you.
- Switch off the warm ceiling light above that table while you shoot. Yellow overhead light turns white plates orange and makes fresh herbs look tired.
- Never use flash. It flattens the plate, erases the steam, and drops a hard shadow behind the dish.
- Bounce light, do not add it. If the shadow side of the dish is too dark, hold a white napkin, a pale menu card, or a piece of white foam board opposite the window to bounce light back in. It costs nothing and it is the biggest single upgrade to a phone photo.
- No window at all? Plenty of mall units and shophouse kitchens have none. Shoot near the entrance during daylight, or buy one small LED panel set to neutral white and keep it off to one side. Never point it straight at the food.
The three angles, and when to use each
- Forty five degrees. The way the dish looks to a guest sitting at the table. Natural, safe, and right for most plated food.
- Straight down. Best for flat food and for spreads: noodle bowls, rice plates, a table covered in shared dishes. Clean and easy to read.
- Eye level. The only angle for anything with height: burgers, layer cakes, a stacked sandwich, a bubble tea, a pile of crispy pork. Shoot a burger from above and you have hidden everything that makes it a burger.
Shoot all three of your hero dish in ninety seconds. You will not know which one works until you see them side by side.
The restaurant food photography tips that actually make someone hungry
Appetite is not triggered by perfection. It is triggered by evidence that the food is alive right now.
- Steam. Shoot the second it leaves the pass. Steam reads as heat and heat reads as fresh. Light it from behind so it catches and separates from the background.
- Gloss and movement. Sauce being poured, cheese being pulled, a yolk being cut open, chilli oil spooned over noodles. Movement makes the viewer imagine the taste, which is the entire job of the photo.
- Hands. A hand in frame gives scale and makes the food feel like it is about to be eaten by a person rather than photographed by a brand. Clean hands, no watch, no phone in the shot.
- One hero, not the whole menu. Every restaurant has one dish people come for. Shoot that dish relentlessly from different angles instead of shooting forty items badly. The hero is usually your best lever on guest average spend, because it is the plate everything else gets ordered alongside.
The mistakes that make good food look flat
- Shooting under yellow ceiling light. The most common killer of all. Everything turns orange and muddy.
- A cluttered frame. Menus, sauce bottles, tissue, a phone, someone’s elbow. Clear the table down to the plate, one prop, and the surface.
- Shooting a cold plate. Food dies fast. Herbs wilt, fat sets, ice melts. Set up the shot first, then plate, then shoot inside a minute.
- Standing over the table with the wide lens. A phone’s wide lens distorts whatever is closest to it. Step back and use the 2x lens instead, and the dish will look like itself again.
- Heavy filters. If the colour in the photo does not exist in your kitchen, you have made a promise the plate cannot keep, and the guest notices the moment it lands on the table.
- A dirty plate rim. Wipe it. Ten seconds. Guests read that detail as how you run the kitchen.
A ten minute routine you can run before service
- Pick one dish. The one you want more people to order this week.
- Wipe the table and clear it down to the plate and one prop: a napkin, a chopstick rest, a glass. That is enough.
- Kill the overhead light above the photo table, open the blind, and set your bounce card on the shadow side.
- Have the kitchen plate it fresh and bring it straight out.
- Shoot forty five degrees, straight down, and eye level. Then one shot with a hand in it: pouring, spooning, lifting.
- Film five to ten seconds of vertical video while the steam is still there. That clip is your Reel or TikTok for the week.
- Edit lightly: raise the exposure a little, pull the warmth back if the photo is going yellow, add a touch of sharpness, then stop.
One dish a week, shot properly, is more than fifty well shot dishes a year and enough raw material for every channel you run. If you would rather not do this yourself while you are also running a kitchen, book a discovery call with our team and we will go through your current photos and tell you honestly which ones are costing you orders.
Where your photos have to work hardest
The Instagram grid is the least important place your food photos appear. The photos that move covers are the ones on your Google Business Profile, your delivery app listing, and your booking page, because the people looking at those are hungry, undecided, and comparing you against the next listing down. Put your three strongest frames there first, then worry about the feed.
How to tell whether a photo is working
- Saves and shares beat likes. A save is someone planning a visit.
- Messages asking about the dish, the price, or a table.
- The featured dish selling more this week than last, which lands in covers and guest average spend rather than in likes.
If a photo pulls attention but nothing moves on the floor, that photo is decorating, not selling. Shoot the dish that makes you money, in good light, hot, from the angle that shows what it really is.
Make the checklist a habit
Good food photography is not a talent, it is a checklist run in the same fifteen minute window every week. Start with light, protect the hero dish, and put your best frames where hungry people are actually looking. If you want a second opinion on what your current photos are doing to your covers, book a discovery call and we will look at them with you.